If you love Kim Kardashian, it’s more than likely that you know a little about makeup contouring. This trend is taking over and can be seen pretty much everywhere. If you haven’t tried you’re hand at this not so new trend (it’s actually been around for years!), it is definitely something worth testing yourself before your big day. Especially if you are a little wary of waiting till your wedding day or trial to see how your wedding makeup looks, this may be a good experiment. Here are a few basics of contouring to get you started on this wedding makeup look…
Consider Lighting
Makeup artist Nick Barose has famously said that, “contouring for every day just isn’t realistic unless you are Kim Kardashian and can hire people to follow you around, like a camera crew with a light.” For anyone who is not a contouring first-timer, you will totally understand this. Heavy looks do not always read so well in natural light but do work well in photos. So it may be a balance of downplaying to suit how you look on the day as well as making your look work for professional wedding shots.
Work With What You Have
If you are just testing the waters with contouring, look at what you already may have. For example, that foundation you bought that was a little too dark? Perfect for defining. Concealer can also double up as a highlighter for your nose. Matte based brown eye shadows or brow shadows can work for defining too. What you will need is a good base foundation that is non-greasy but can blend easily.
Applying the look
Basic contouring is fairly straightforward when you think about it. Begin by covering with a light base foundation all over once you have moisturised and prepped your face. Then, take a look at how the light reflects on your face. This should be done with light shining directly in front of you. Where to the shadows fall? Where does the sun cover your face? This is a good test of where you can begin contouring. Next, using your darker makeup, create bold lines of the areas where shadows fall. This does not have to be very precise, as you will be blending later. You may look silly at first, but it will make sense once you are finished. When it’s your first time, it may be easier to do light outlines as you can always build it up when you gather more courage!
It’s All About The Blend
With a small brush for your nose, blend in each side, connecting them at the bottom at an angle. For larger areas, like cheekbones and your forehead, use a wider brush to soften the look. Once you are done blending, it will take more highlighting to give it a realistic look. Here, use a lighter cream based foundation on your most prominent features (that would be the tip of your nose and apples of your cheekbones as well as the middle of your forehead between eyebrows). Finally, give the look life and personality with a little pink blush to your cheeks.
Take a Look at Your Masterpiece
Do you love it? Does it look terrifying? The first-time might not look amazing because it takes a little work to master. Once you know how the light treats your face, it is a snitch to get. Try testing it in different lights and in photos too!
For more tips, check out this awesome video by blogger Nur for the Home Shopping Network
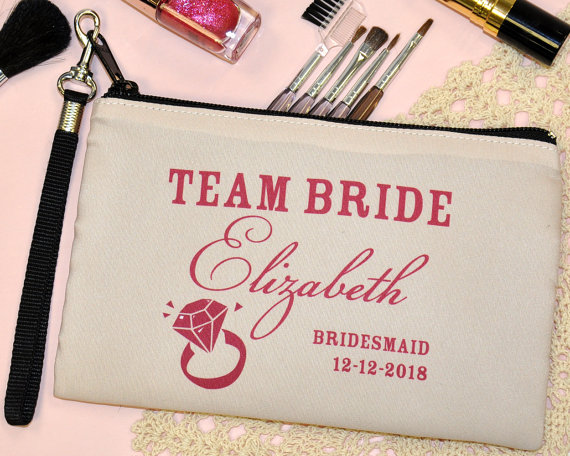
Image via Etsy


