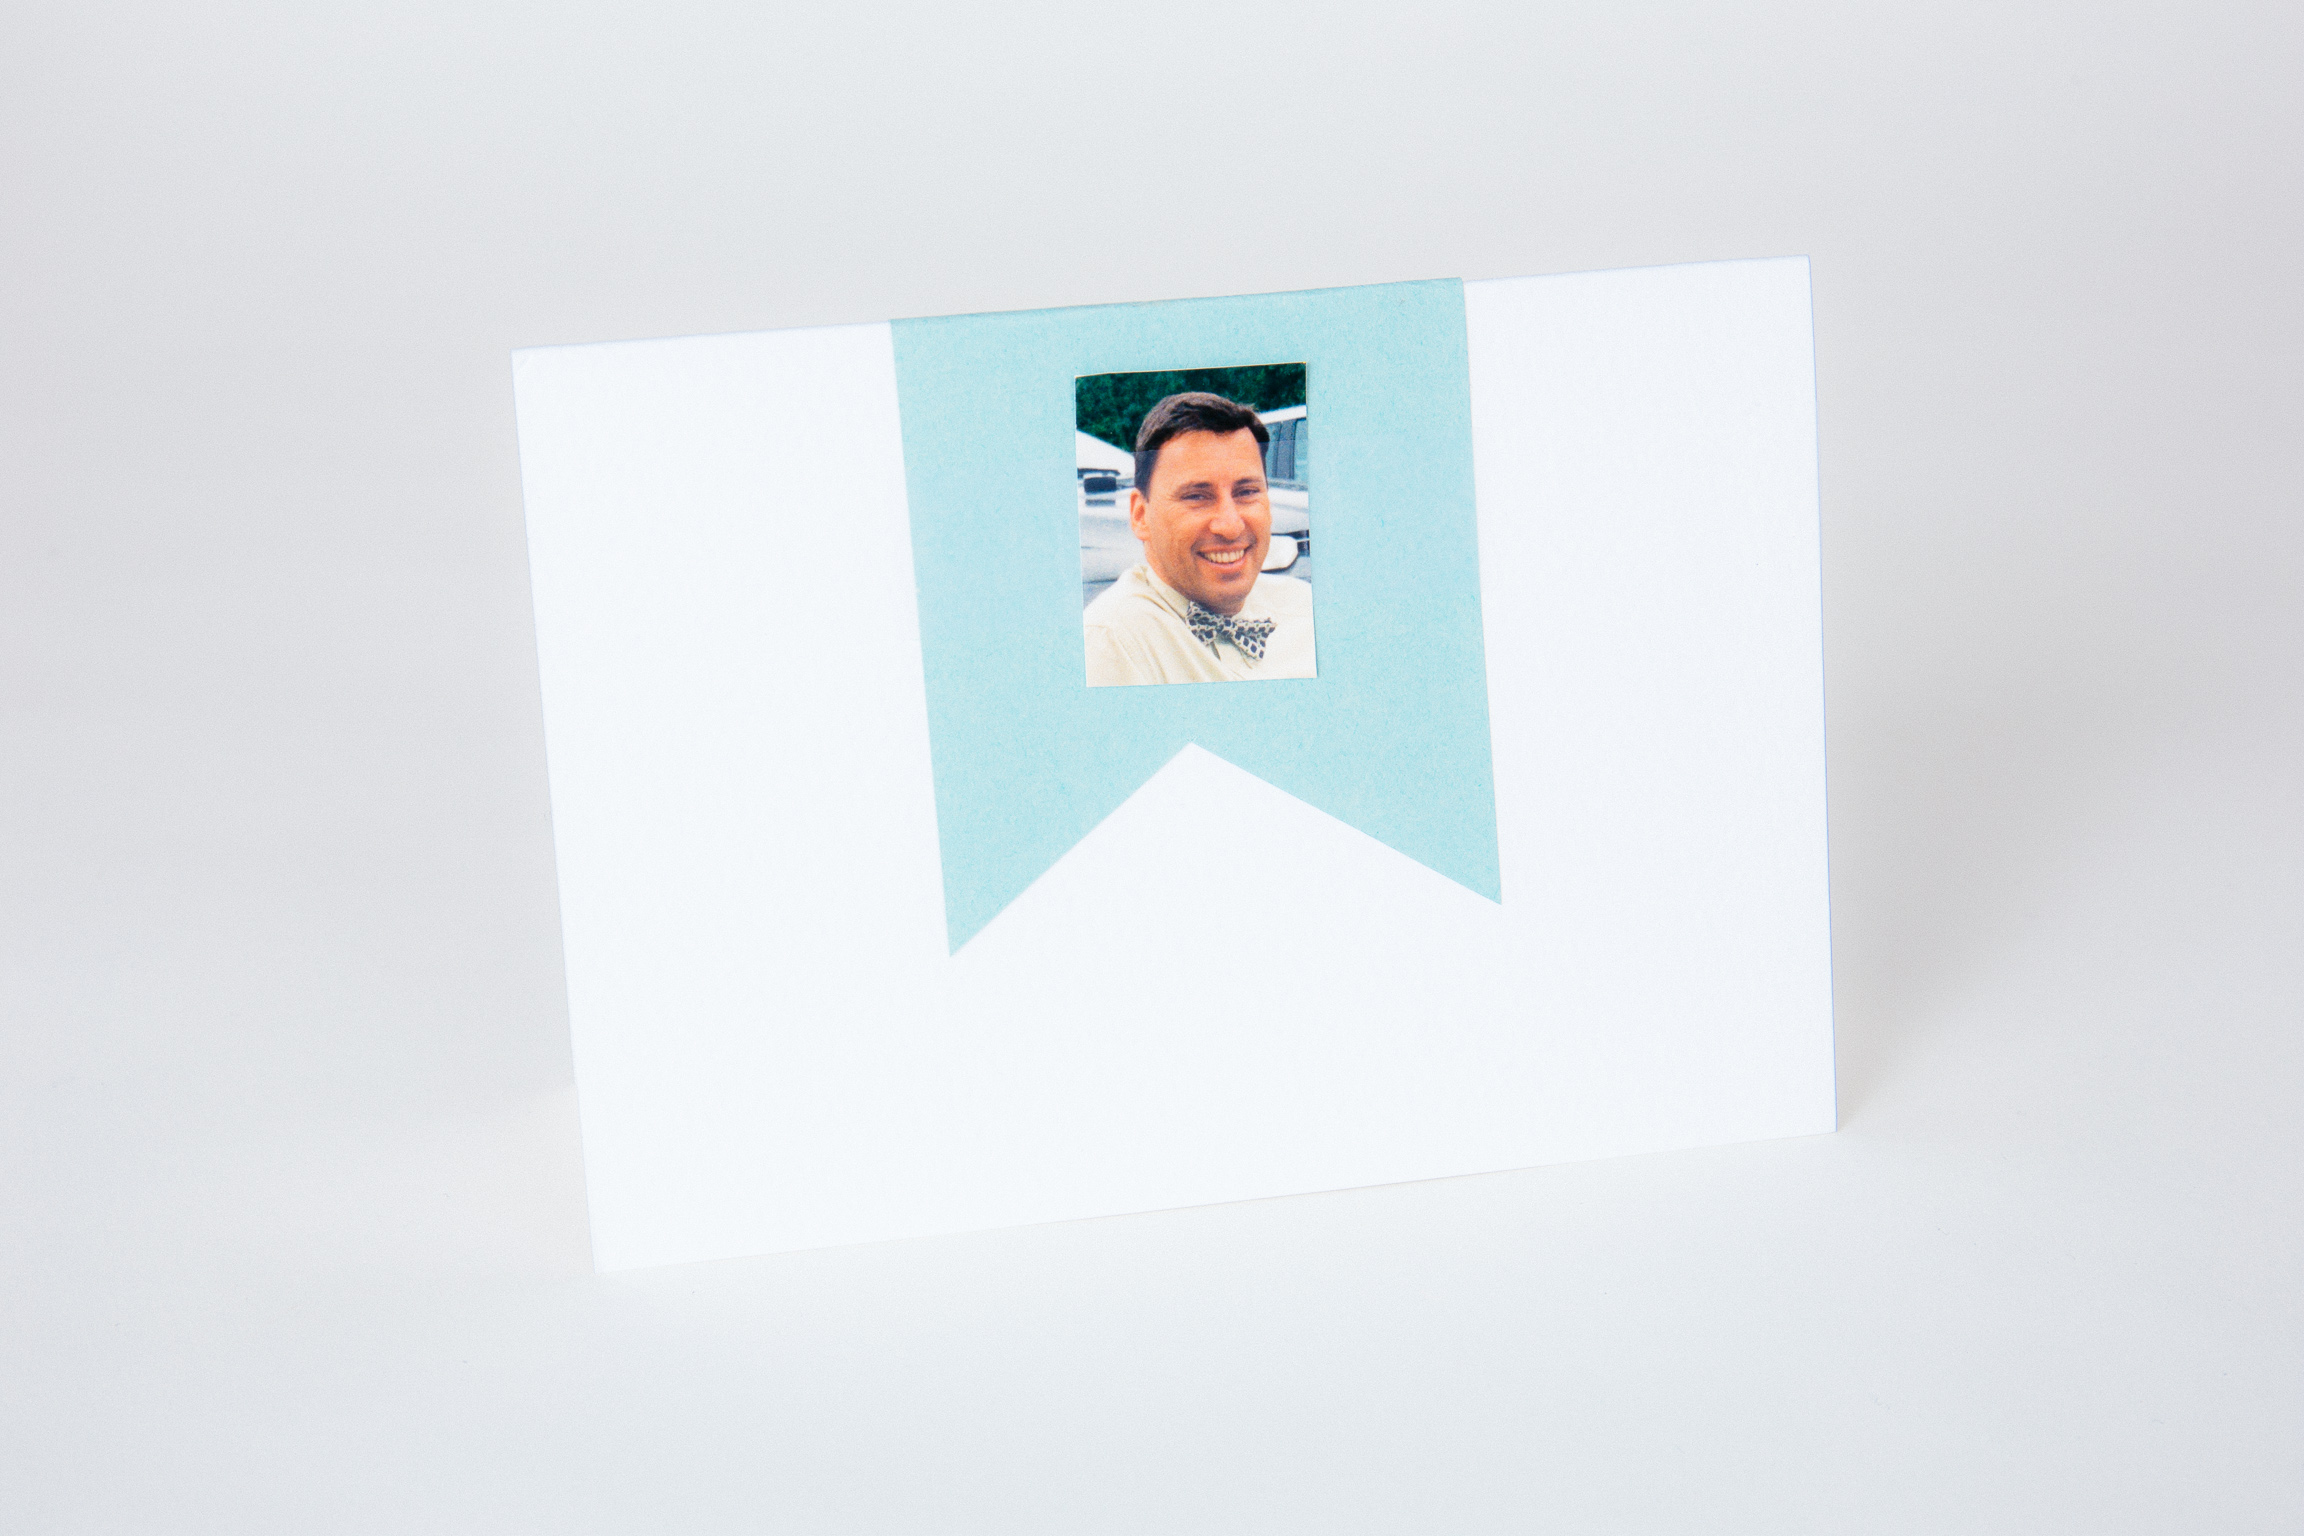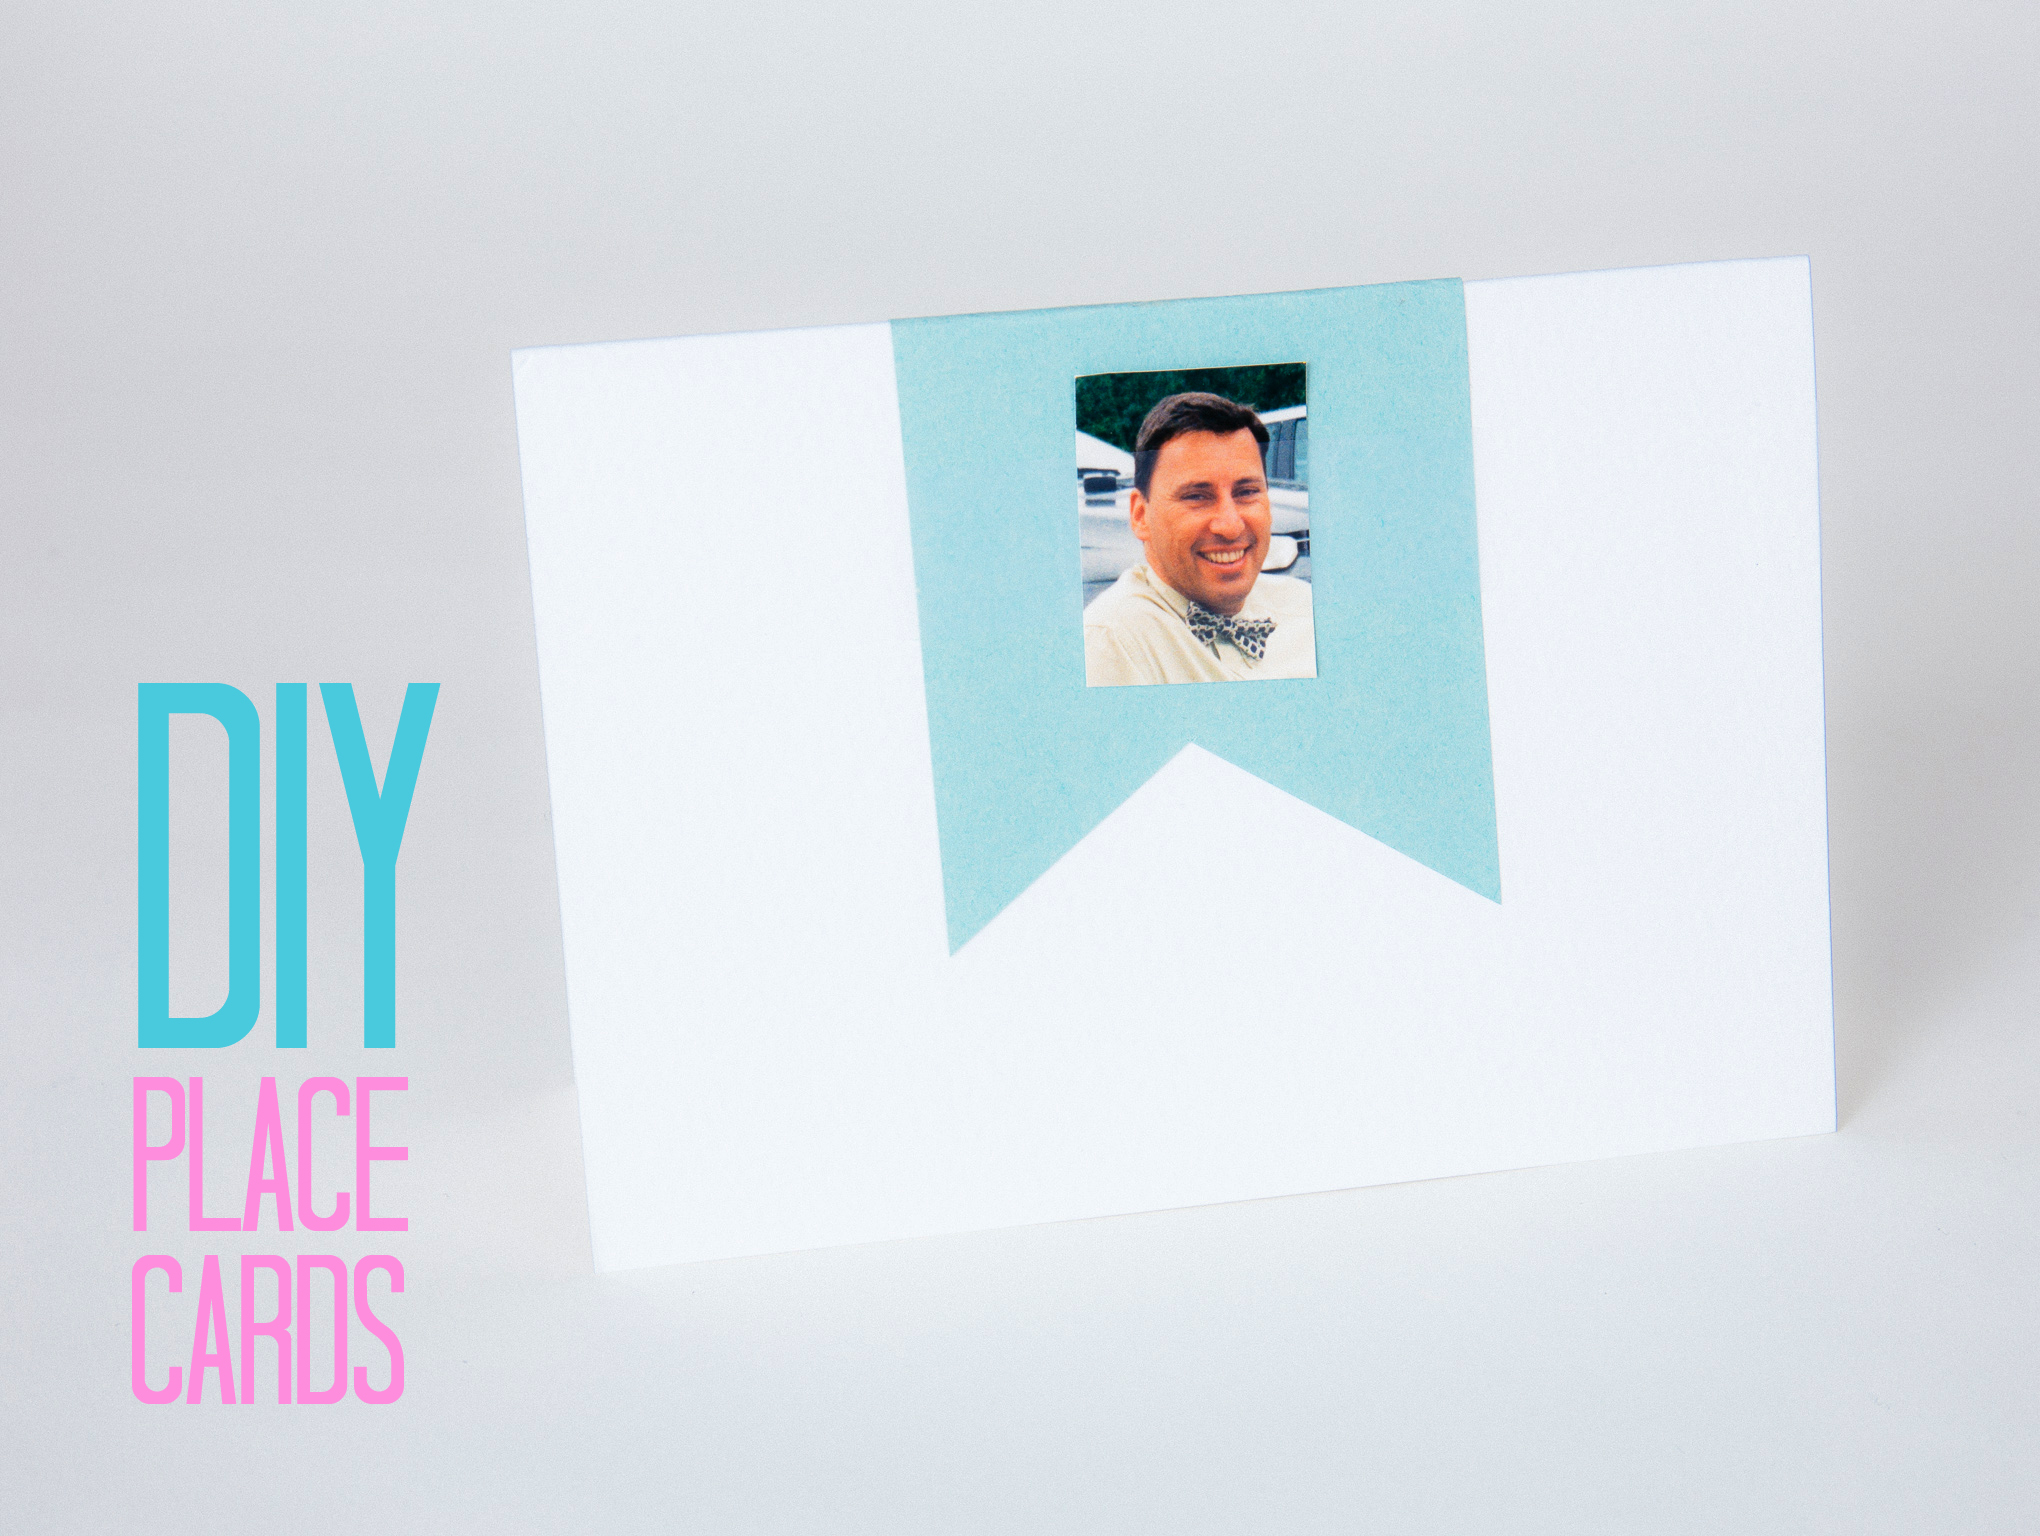
When it comes to wedding décor, we have to say, we really do love a personal touch. There is just something special about adding your own personality to your day and making it unique to you. Making your own place cards can add a wonderful way to add your stamp to the day, however card making can seem like a daunting prospect if you don’t know where to start. So, we have put together a little step-by-step tutorial on making your own place cards that will really only require some scotch tape and good card. Trust us, your guests will love this!
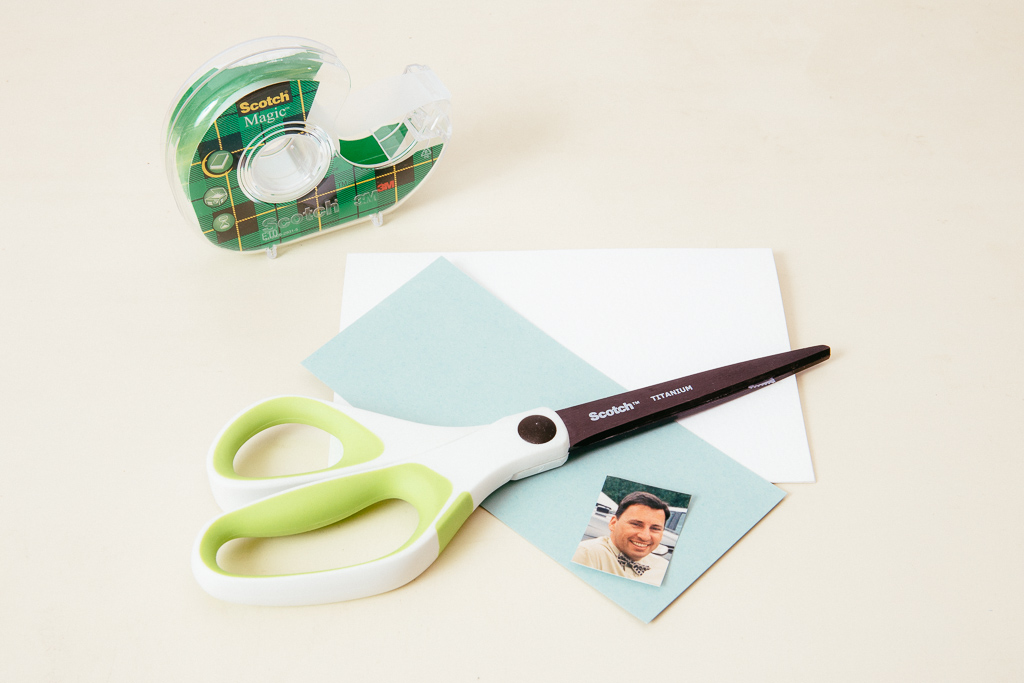
You Will Need:
- A blank card
- Some decorative card in a contrasting colour
- A photograph of your guest or something you would like to feature on the place card
- Scissors
- Scotch Magic Tape

Step 1
Begin with cutting a rectangular strip from your decorative card.

Step 2
Fold this strip in half, then cut a ‘V’ into the unfolded ends. This will create you banner.

Step 3
Now, open your card out and place it flat on your workspace or table. Place this banner on you card and make sure it’s placed in the centre where the folds are in line with each other.

Step 4
Now open the card out and lay it on a flat surface, so both layers of card stay in place. Take your chose photo or decorative statement and place it in the centre of the banner.

Step 5
Cut a strip of Scotch Magic Tape that is long enough to cover the length of your card. Gently place the tape horizontally across the centre of your photo, banner and card to hold everything in place.

Step 6
Trim any excess tape from the edges of your card. Scotch Magic Tape is ideal to use with photographs because it doesn’t go brittle or yellow over time (which will be really handy as you will probably be doing this in the months leading up to your day). Also, as it is instantly repositionable, if you make a mistake, you can just lift the tape off and start again without damaging your card.
Step 7
All done… Now to marvel at your masterpiece!
You could add more details to your place cards by placing decorate banyan leaf or an extra layer of card behind your photo. Or for an even more personal touch, you could also add a strip of tape to the card with a message or the guest’s name on the tape.
Many thanks to Scotch Magic Tape for sharing this great tutorial with us, for more everyday and wedding inspiration, check our their Facebook page here.


